Exporting to Word or PDF
Studio Runner now has a feature to export your narrative to a Microsoft Word or PDF file. This includes the option to export using a template, allowing you to define styles and insert the narrative text at your chosen location.
We have organized this topic as follows:
Exporting a narrative
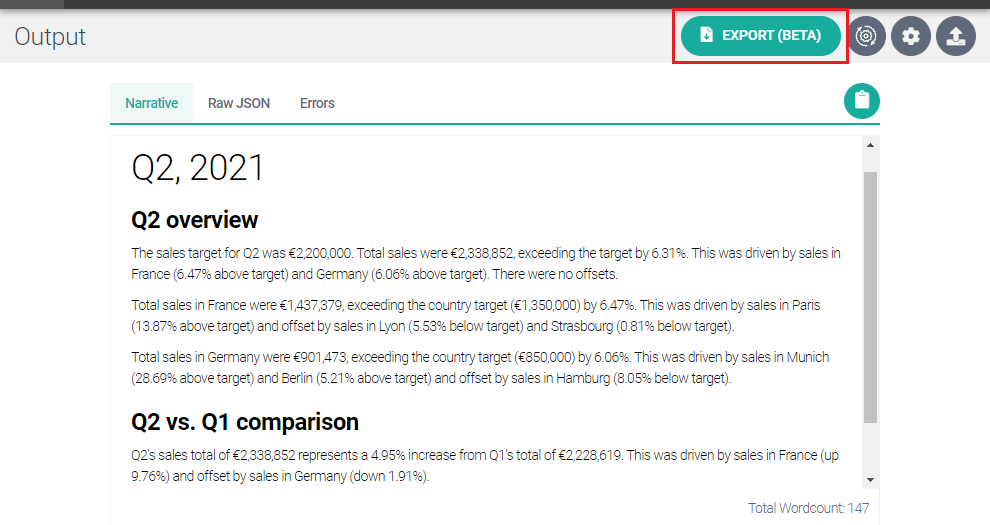
The image above shows a narrative generated by running a "Describe the Table" project.
Click EXPORT to open the Export Narrative dialog, which guides you through a simple three-step process.
Step 1 — Select export format
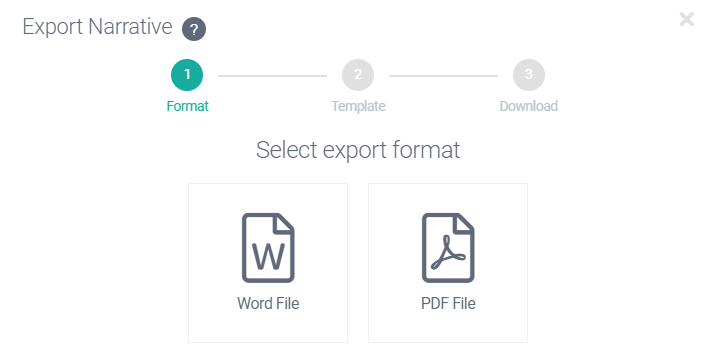
Step 1 asks you to select the export format. Click Word File or PDF File.
Step 2 — Choose a template (optional)
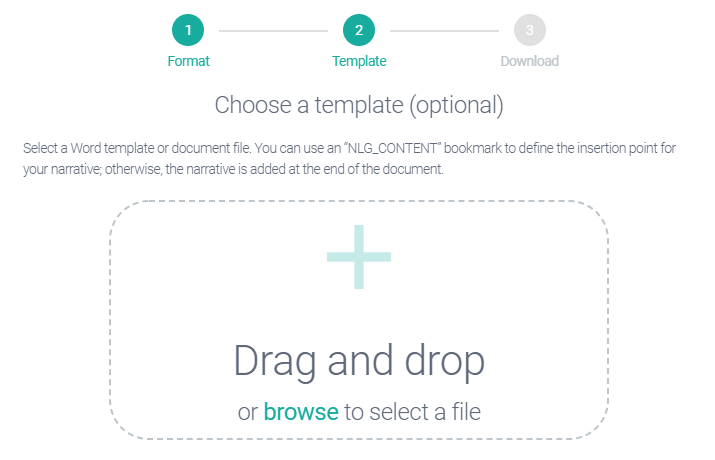
Step 2 asks you to choose a template. Here, template means an existing Word file. This can be either a Word document (.docx file) or a Word template (.dotx file). Older file formats — such as .doc and .dot — are not supported.
Choosing a template allows you to add your narrative at a specific place in an existing document — see Inserting a Bookmark for guidance.
Also, the exported text is formatted as per the styles — Heading 1, Heading 2, etc. — in your template file. For example, if text is set to Heading 1 in your Studio project, that text is formatted with the Heading 1 style (which you can customize beforehand) in your .docx or .dotx file.
Drop the file in the Drag and drop window or click browse to select the file using the navigation window.
Once done, the dialog displays the selected file. Click NEXT to progress to Step 3.

Important
EMBEDDING FONTS IN TEMPLATE (FOR PDF EXPORT ONLY)
For PDF export, Studio Runner checks the template to see if fonts are embedded, as this is required for best results. If you receive a warning that fonts aren't embedded, deselect the template and follow the steps in Embedding Fonts.
Step 2 is optional. If you skip it, the final product is a Word or PDF document containing the narrative text only. Also, the content is formatted using the default styling, which might not be to your liking.
Step 3 — Download
Click DOWNLOAD to save the export file to your downloads folder.
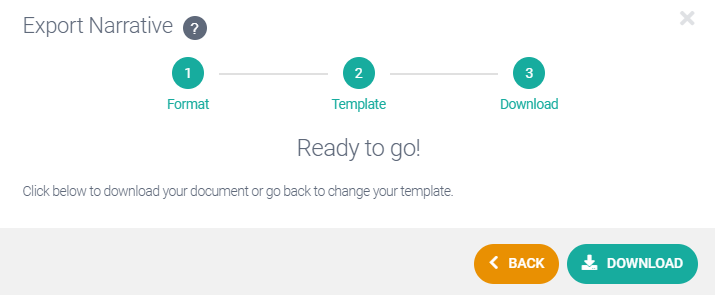
Note
If you choose Word at Step 1, the output is a new document (.docx file), even if you select a template file (.dotx) at Step 2.
Inserting a bookmark
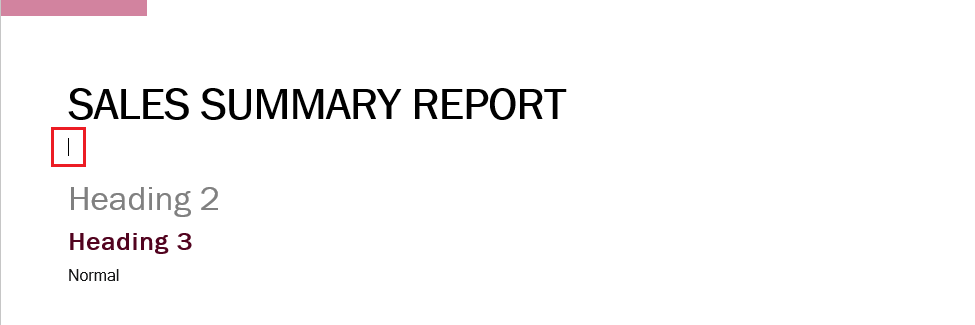
When you select a template (.docx or .dotx file), the default behavior is to add the narrative at the end of the document — i.e. after any existing content. You can define a different insertion point by inserting an "NLG_CONTENT" bookmark.
Place the cursor where you want to insert the narrative.
Click Insert > Bookmark.

Type NLG_CONTENT in the Bookmark name field and click Add.

The bookmark's presence is indicated by a grey I-beam symbol (if configured to be visible — see below):

Important
You won't see the I-beam symbol unless you've selected the Show bookmarks option in Word. This lives in the Show document content group of options. See Word Options (Advanced) for guidance.
Save your document as a .docx or .dotx file.
Export using the file and check that the narrative is added at the bookmark location.
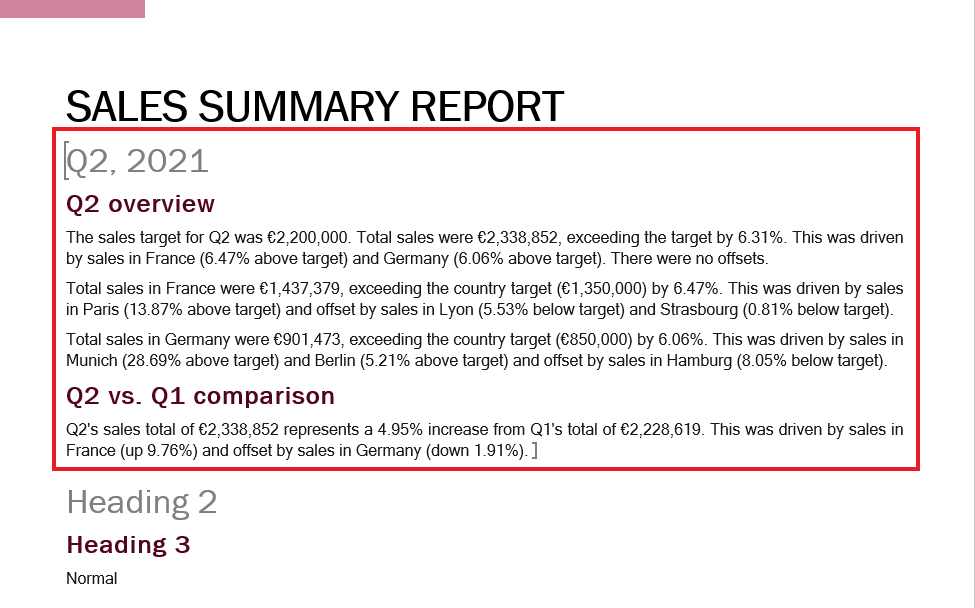
In Word export files, the narrative appears between two square brackets. These don't appear when you print the document.
Embedding fonts
This step is necessary only when you're exporting to PDF and using a document template (.docx or .dotx file) with configured styles for Heading 1, Heading 2, etc. You don't need to embed fonts when exporting to Word.
To embed fonts in your template, open the file in Word and follow these steps:
Click the File tab and then Click Options (bottom-left corner of the window).
In the left column, select the Save tab.
In the Preserve fidelity when sharing this document section, click to select the Embed fonts in the file option.

Make sure that Embed only the characters used in the document is NOT selected.
Click OK and save your template as a .docx or .dotx. file.
Restrictions
Selecting Show All disables the EXPORT button.
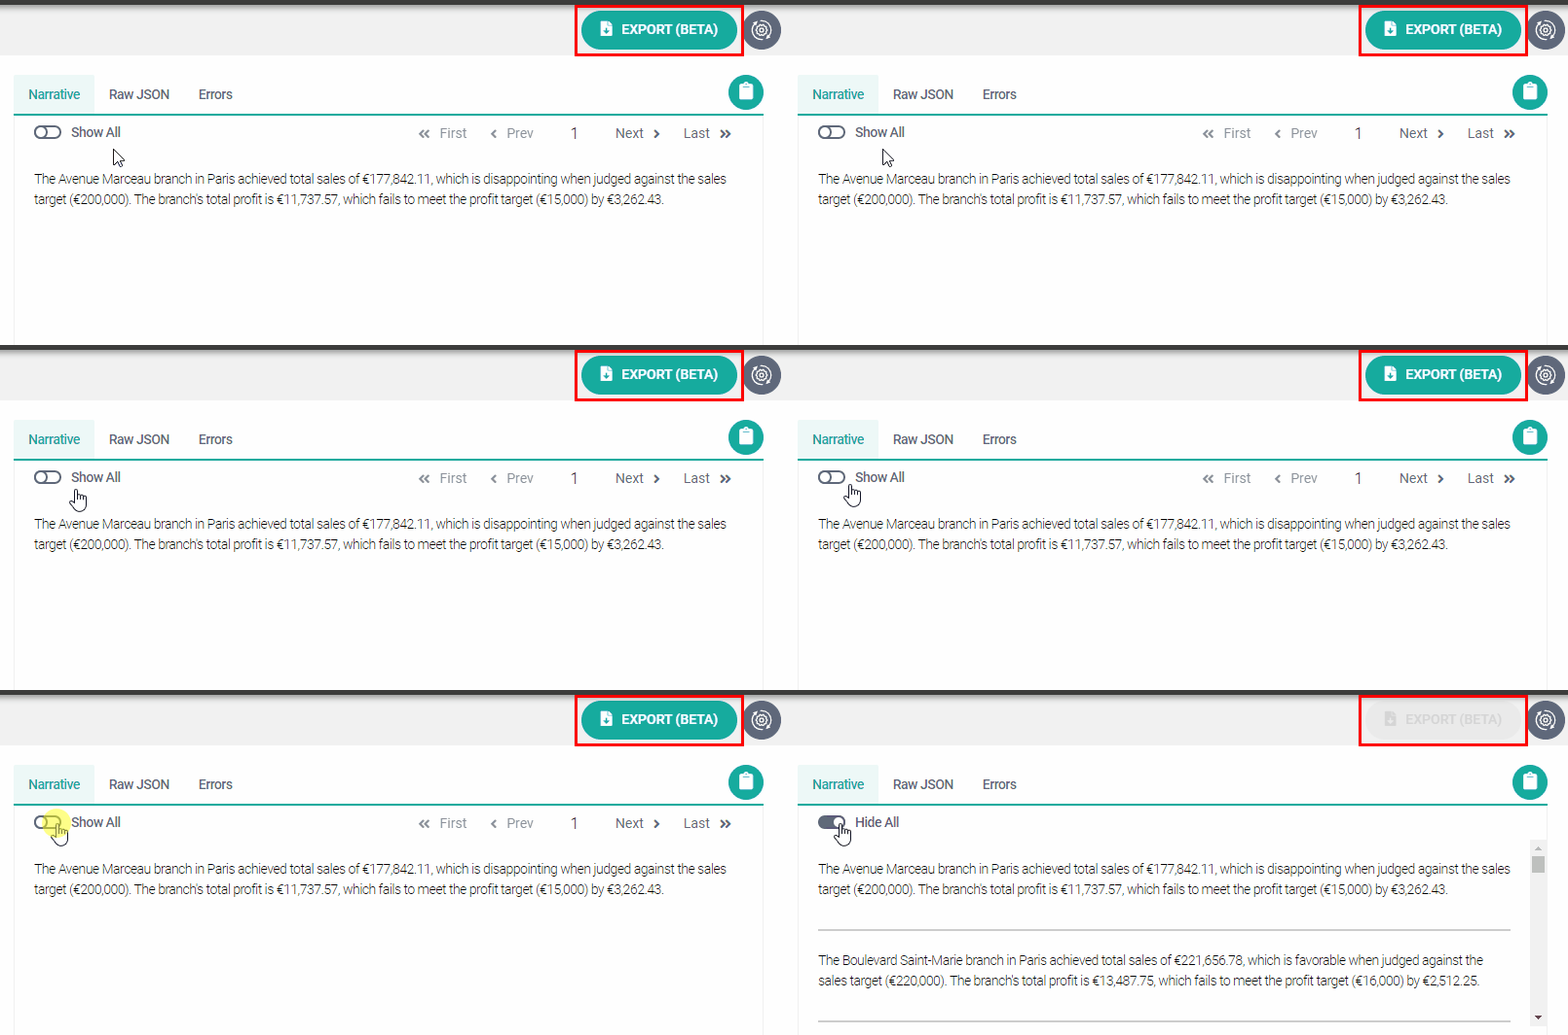
The Show All / Hide All toggle appears only when you run a "Describe Each Row" or "Describe Row in Context" project. These projects generate multiple narratives (one for each row of data). At present, it's not possible to export all narratives simultaneously.
As an alternative, you could copy the Show All content and paste it into a Word document.
