Publish View
The Publish view is where you can publish your project, run it from inside Studio, get API information, and make CORS settings. This view has two tabs, Run Project and API, and from these you can do the following:
Run Project
Publish — you can publish your project from the top of this page.
Run Project — here you can run your latest published project from inside Studio.
API
Publish — you can publish your project from the top of this page.
API key — you can generate an API key for calling your project from its API endpoint.
API endpoint — you can get the URL to access your project.
Studio Runner — enable the Studio Runner app so it can be used to submit data to your project’s endpoint.
CORS — you can configure domains for Cross-Origin Resource Sharing.
Convert data to API format — a utility to convert your project data into the format required to send to its API endpoint.
Publish
Before you can run your project, you must first publish it. Click the Publish button.

You will see this button in both the Run Project and API tabs. If you click it, you’ll be asked to confirm that you want to publish.
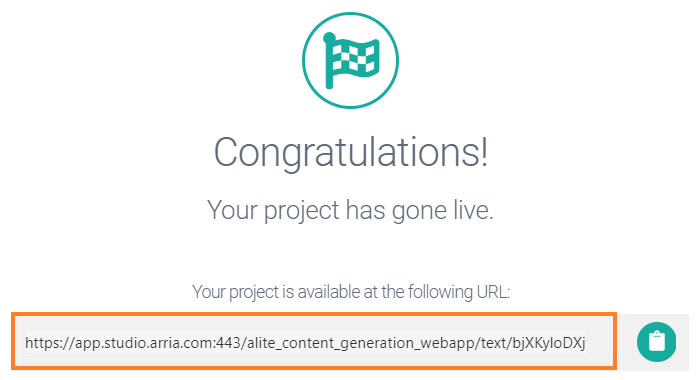
Once you've published, you’ll see a congratulatory message to let you know that your project has now gone live. This message provides you with the URL corresponding to your project’s API endpoint. See Using a Studio app's API for further guidance.

After you have published your project, the Publish button changes to Re-Publish.

Important
If you make changes to your project, these won't appear in the published version of your project until you republish.
Run Project
After publishing a project, you can run it from inside Studio or from outside Studio via the API endpoint.
On the Run Project tab you will see two buttons: Run with New Data and Run with Sample Data:

Run with New Data allows you to upload a data file containing new data whereas Run with Sample Data will run the published project with its sample data (the data you see in Data View). When the project has run, you will be offered a download of the results file.
Important
For table data, you MUST keep the column headers intact. The application won't be able to accept the data file if you change them. You can, of course, change the data values arbitrairly. For further details, see Publishing a project.
API key
The button to generate an API key can be found in the Publish view's API tab.

Once you have published your project, you can call it using the API endpoint from another application or website.
Note
Running a published project is chargeable in accordance with the terms of your subscription.
To use the API endpoint, you will need an API key. Click the Generate API Key button in the API tab (highlighted above) to generate a new API key for your already-published project.
When you click the Generate API Key button, the API key is shown as a long string of characters in the pop-up. Make sure you copy the key. Clicking the button next to the key will save it to your clipboard:

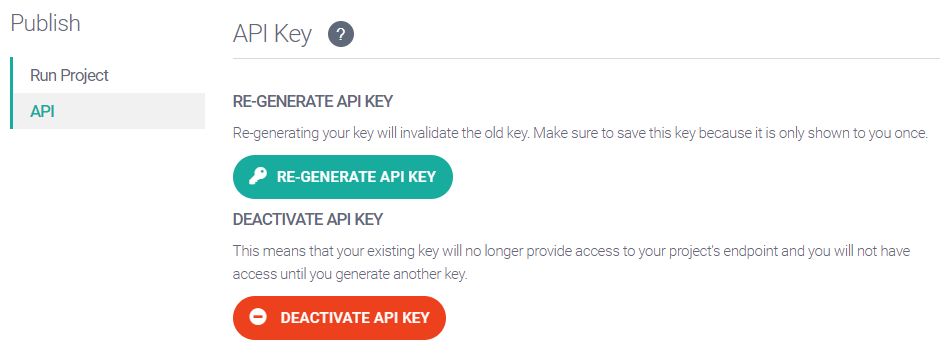
After generating the key, the Generate button changes to Re-generate API Key, and a new button appears: Deactivate API Key.

The Regenerate API Key is useful if you have mislaid the original key or believe it has become compromised in some way. Generating a new API key automatically deactivates any existing keys.
By clicking Deactivate API Key, you can deactivate the existing key for this project without creating a new key. This is useful if you simply want to switch off access to your project.
API endpoint
The API Endpoint section is located in the Publish view's API tab, directly below the API Key buttons. It contains the URL to access your project. Click the button next to the endpoint to save it to the clipboard:

Note
See Using a Studio app's API for how to use the endpoint.
Studio Runner
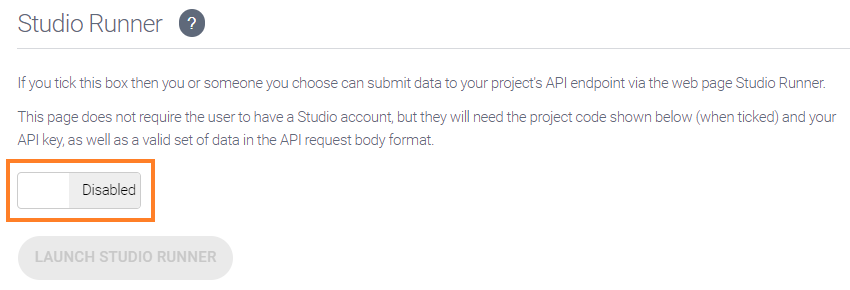
Studio Runner is an external application for running Studio projects. Once a project is published AND enabled for Studio Runner, you can run that project by submitting data to its API endpoint via the Studio Runner web page.
To enable a project for Studio Runner, go to the API tab and scroll down until until you see Studio Runner.

Click the slider (shown as 'Disabled') to enable the project. Keep a copy of the project ID that appears as you (or others) will need to enter it on the Studio Runner web page. Clicking the clipboard icon saves the ID to your clipboard:

Click the Launch Studio Runner button to open Studio Runner in a new tab in your browser.
To use Studio Runner, you require:
The project’s ID (see above).
The project’s API key.
Data in a suitable format (see Convert data to API format).
Note
Refer to our Studio Runner documentation for further guidance.
CORS
CORS information can be found in the Publish view's API tab.
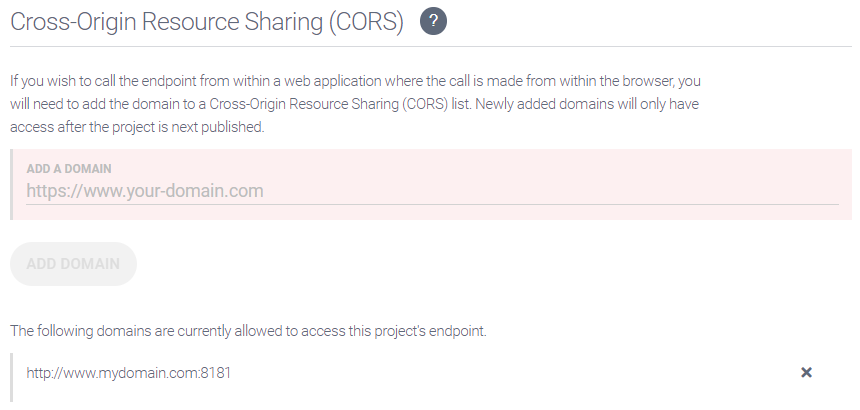
If you want to use the API from an external domain, use the Cross-Origin Resource Sharing (CORS) feature. It enables you to specify up to 20 domains that can call the endpoint of your published project. Enter your domain name in the ADD A DOMAIN field.
You can specify a port number — for example, 8181 as in http://www.mydomain.com:8181. Alternatively, you can leave out the port number to use the default port 80, as in http://www.mysuperservice.com.

Click the Add Domain button to add it to the CORS list. This button is unavailable until you populate the ADD DOMAIN field.
Important
Once you have added your domain, you must republish your project and regenerate the API key before it becomes effective.
Convert data to API format
The Convert Data to API Format feature is located toward the bottom of the API tab. If your project is published, you can use this feature to convert your project sample data (or a different data file) into the format required to post to the API endpoint.

Click Convert New Data to upload a data file to be converted or click Convert Sample Data to convert your project sample data. The data file should hold valid data for your project. Moreover, for a CSV data project, it must have the same columns as your published project.
The output file containing the converted data is downloaded to your computer; the file has suffix _api.json.
If you attempt to convert a data file with errors, the Convert Data to API Format feature will produce an error.