Creating a project
New projects are created in the Project Portal, which is where you land when you first log into your NLG Studio account.
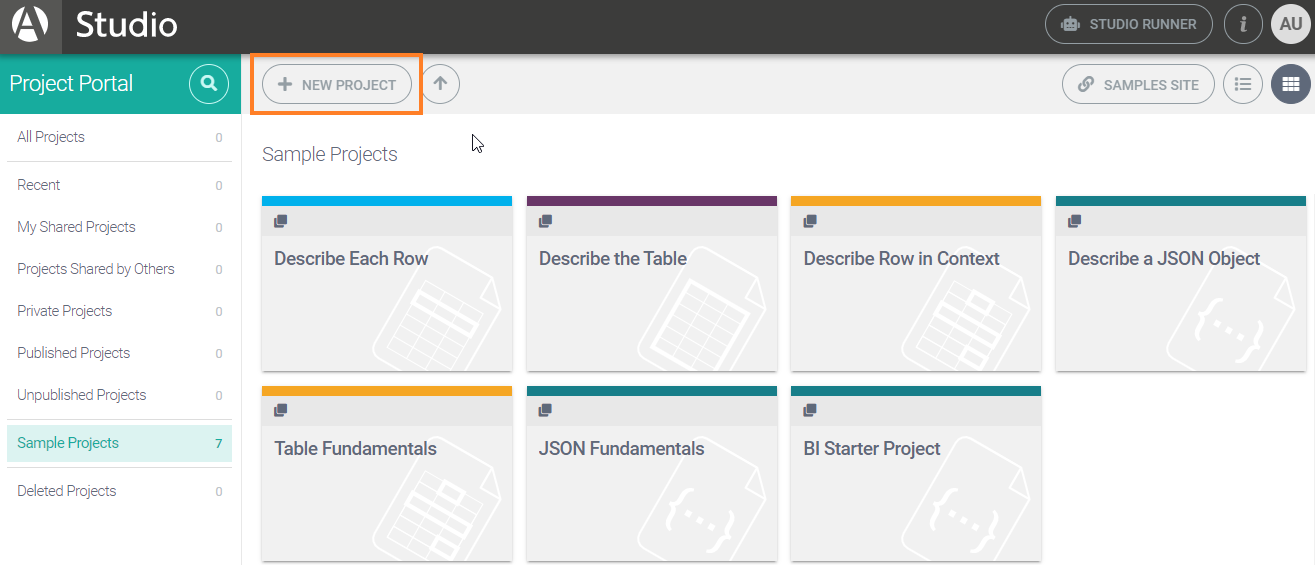
When you log in for the first time, the portal will be in Tile Mode and Sample Projects View will be selected. This is because you don't have any projects of your own. For more about the portal's different modes and views, see Project Portal.

To create a new project, click on the New Project button near the top of the screen. This opens up a drop-down menu offering the following choices:
Describe Each Row
Describe The Table
Describe Row in Context
Describe a JSON Object
New Project from Sample
The first four of these options represent the four project types available in NLG Studio. Click on one to create a new project from scratch. The fifth option allows you to create a new project by cloning one of our sample projects.
Generally, your choice of project type will depend on how you want to use your data to construct a narrative. For more information about the different project types, see Key Concepts > Projects.
If this is your first time using NLG Studio, we recommend creating a new project from scratch by clicking on the New Project button and selecting the Describe Each Row option. The corresponding tutorial comes next in this documentation.