Adding table data
The project will automatically open in the Data view. This is where you provide the sample data that you’ll use while you’re developing and testing your project. NLG Studio lets you import data directly from a file, either by uploading or by dragging and dropping your sample data into the interface.
Note
The file size limit when importing sample data is 1 MB. After a project is published, you can run it via the API with larger data files. Currently, the data size limit for calling a published project via the API is 20 MB.
For this tutorial, we’ve provided a sample data file. Download this file to your local drive.
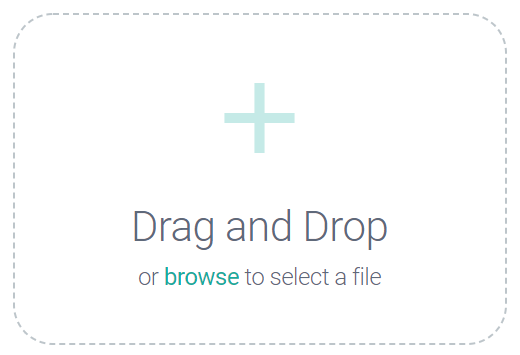
To import the data file into your project, drag and drop it into the Drag and Drop area, or click on the browse link and select the file using the pop-up navigation window.

Note
The hint: "The first row of your file should contain the headers you would like to use in your project.” (above the drag and drop window) refers to the format of the CSV file. Don’t worry! Our file is in the correct format. The first row of the imported CSV file is interpreted as column headers and subsequent rows are data.
See the Wikipedia page for comma-separated values for a refresher on the CSV format.
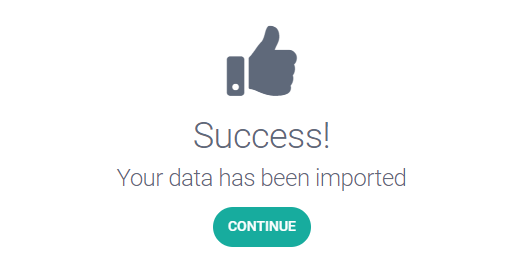
When the file is imported successfully, you'll see a confirmation message:

Click Continue.
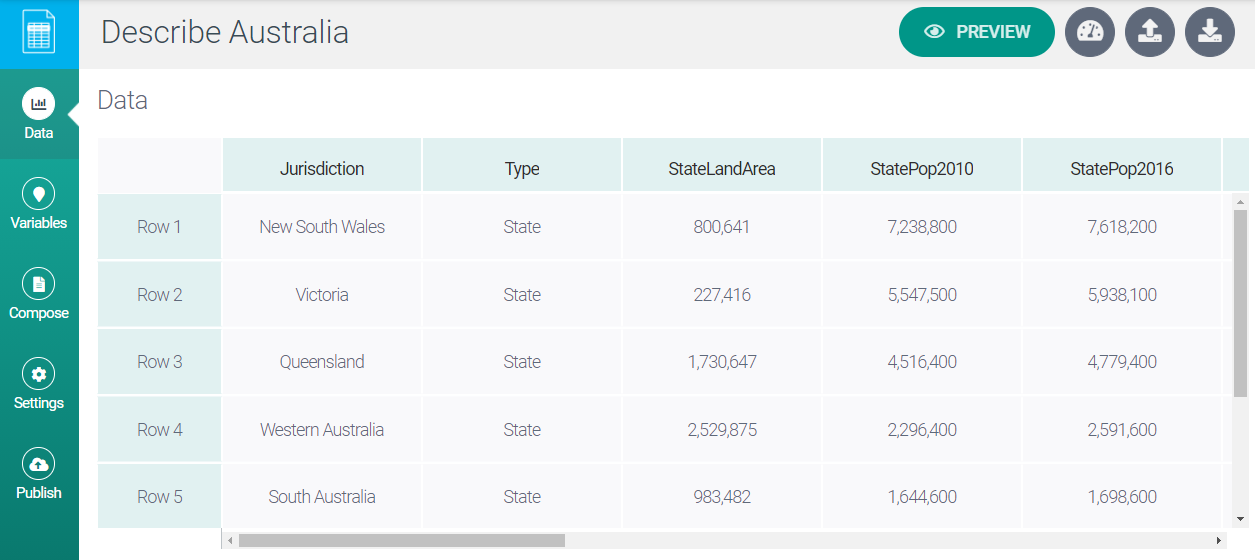
This will take you back to the Data view, where you'll see that the table data has been populated with the data from the CSV file.

As you can see if you scroll around the table, for each of the eight states and territories of Australia, there is information about land mass, population, capital cities, and the heads of government.
Note
Studio supports JSON data as well as table data. See our Describing a JSON object tutorial.
Next step: Inserting variables