Previewing your content
Click the Preview button.

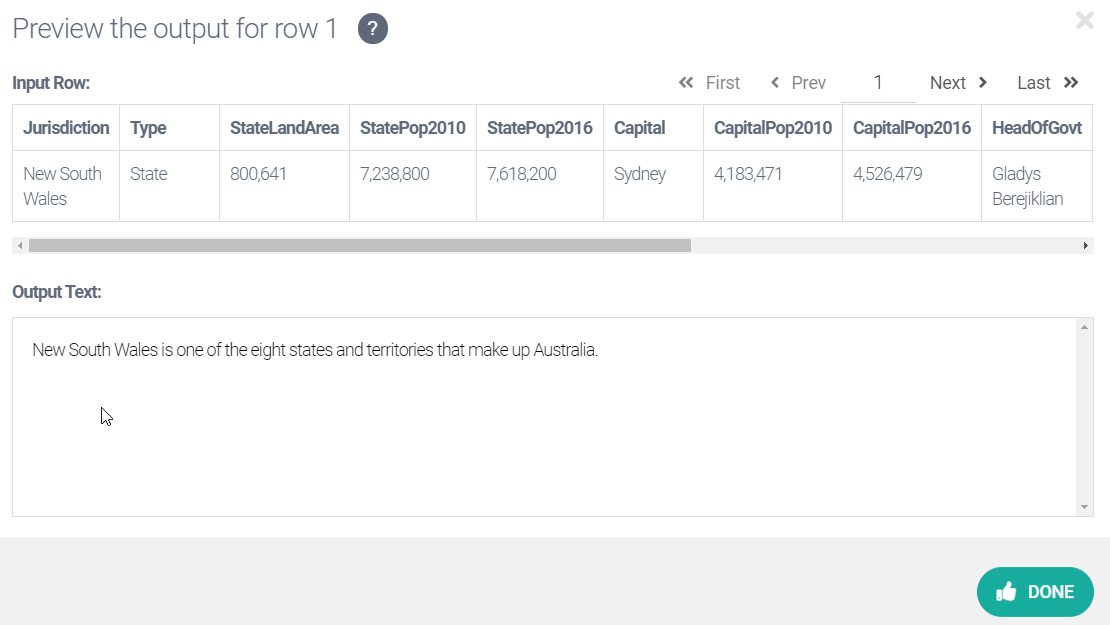
This produces a Preview window that shows the results of applying the script you just created to the first row of data in your data table:

The bottom part of the window shows the generated text; notice that the Jurisdiction variable has been replaced by "New South Wales".
Above this, the row of data that contributed to the generated text is shown. This is useful for checking that the output is as it should be.
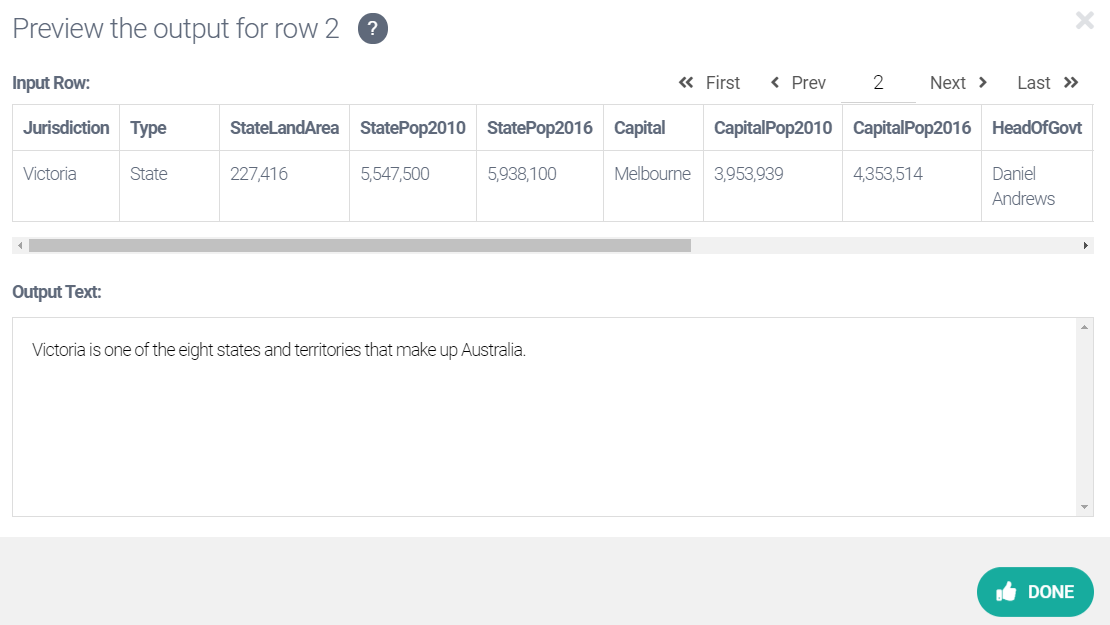
To preview the generated text for Row 2, click the Next button in the top right corner of the window. "New South Wales" has now been replaced with "Victoria".

There are two ways to move through your data, previewing the narrative generated for each row:
Use the First, Prev, Next, and Last buttons.
Click in the field at the center of the navigation buttons, type the number for a specific row, and then click outside the field.
The second option is particularly helpful when you want to preview the narrative for a specific row in a large data set.
Click Done to close the Preview window (alternatively, click on the X icon in the top-right corner).
Tip
If you select just part of the text and then click the Preview button, the preview will contain only the selected material. This is often useful when you work with longer texts because it lets you focus on just the piece you are currently interested in.
The next step will show you how to use ATL functions.